If you haven’t yet read the first two posts in this series, here are quick links: Part I and Part II.
Once the cabinets had their base coats, it was time to start painting. We used acrylic paints. Very practically, Marissa started on one side of the kitchen and I in the corner so we didn’t bump elbows, water cups, or ladder legs against each other’s. First we sketched designs on the panels, which presented its own challenges due to scale and the presence of the picture planes directly, vertically parallel in front of us rather than on a desk in front of us. But we did it and overcame our hesitation to finally commit the paintbrush and lay down that paint.
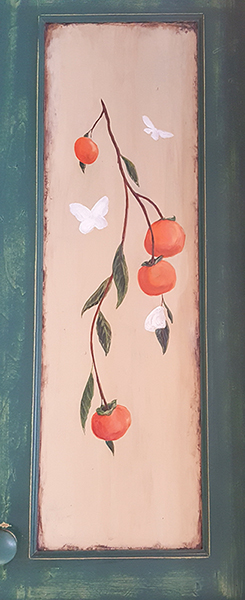
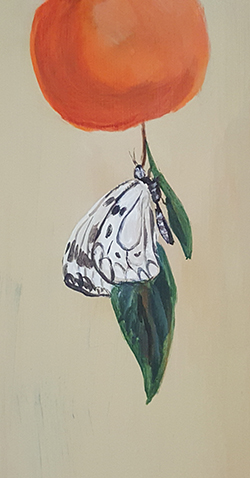
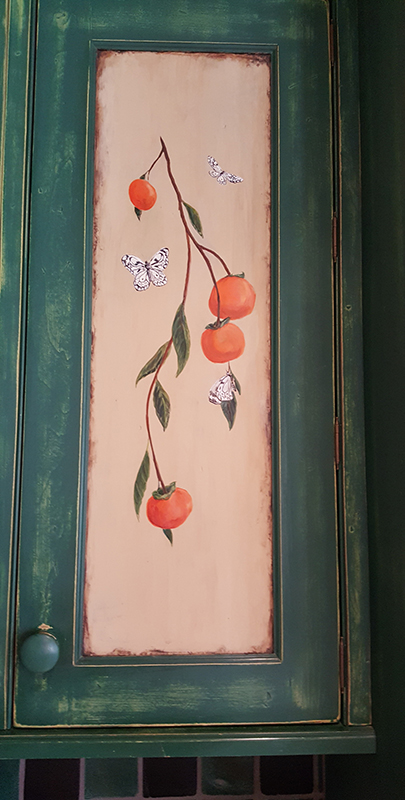
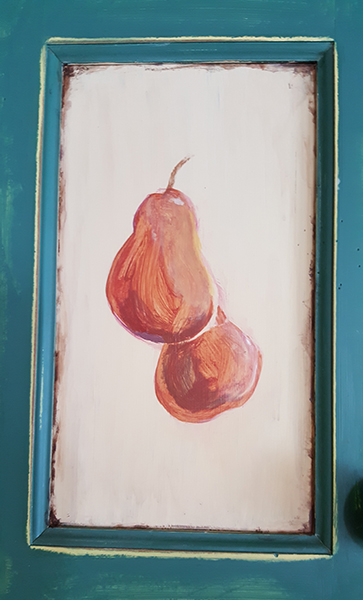
Generally we first painted the branches. Second, basic shapes of fruit and leaves. Then we worked on shaping dimensions & values (light & dark) and details. (It sounds very brief when worded that way, but remember that this project extended over several panels and months.) Persimmons below.
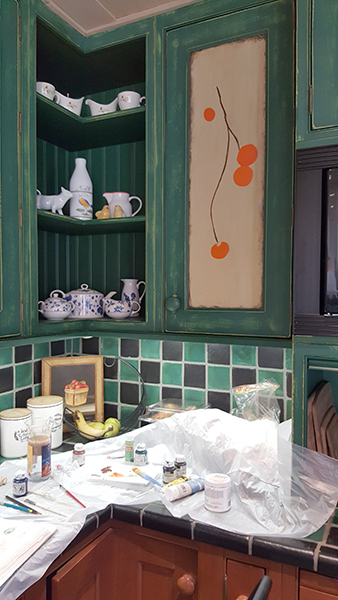
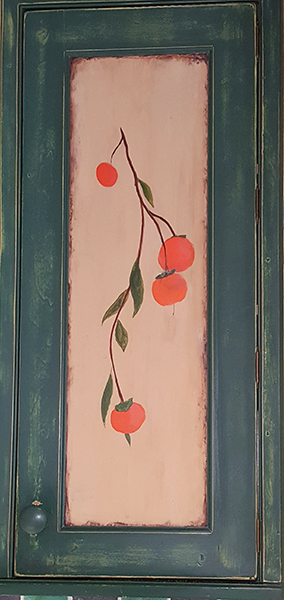 Marissa and I planned the placement of colors based on the lighting. This corner panel received the least amount of light, so we decided a brighter, bolder color (orange) should go in that corner to help lighten it (or, on the other hand, because it wouldn’t be as negatively affected by the dimmer lighting). At first, because we had only painted 2 panels, the hue looked almost too bright (traffic-stopping orange), but that effect decreased as we painted more cabinets with bright colors and I developed the persimmons.
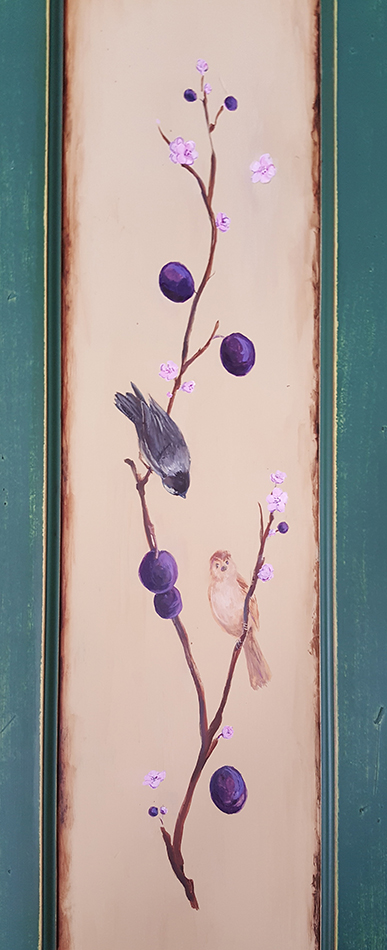
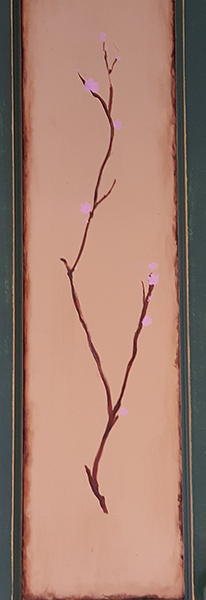
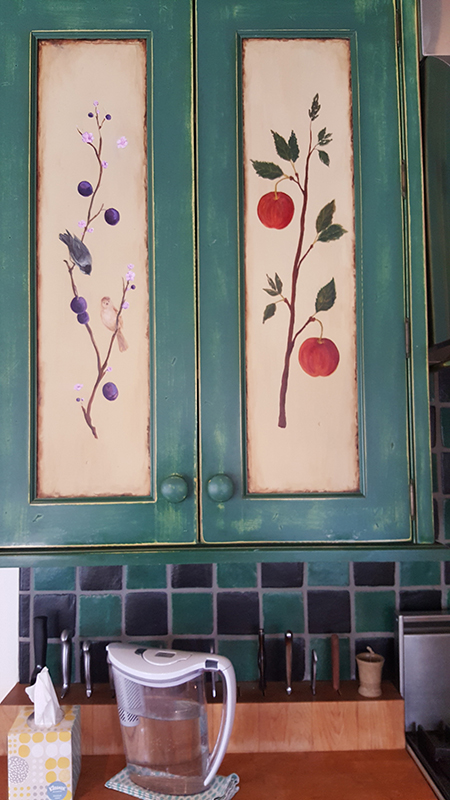
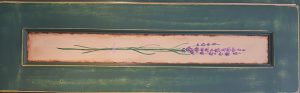
To get an idea of how the paintings progressed, here is a series of pictures of my plum panel. First the branch, then tiny blossoms, then fruit. (Serendipitously, I painted a lot of Ps — persimmons, plums, pears, and a pussy willow spring, but the pussy willow was vetoed, and a sprig of lavender took its place.) There were further changes and additions to this panel, but I will save those for a later time. (Note: I started the plums on a different visit from our first day painting fruit.)


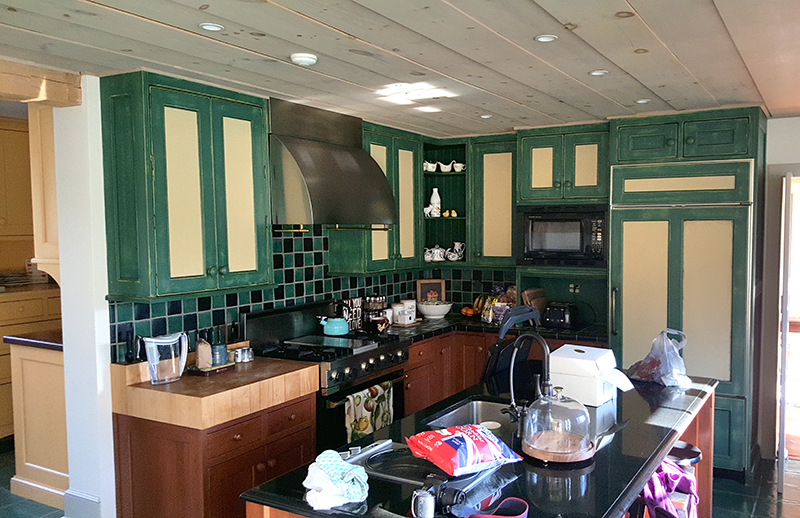
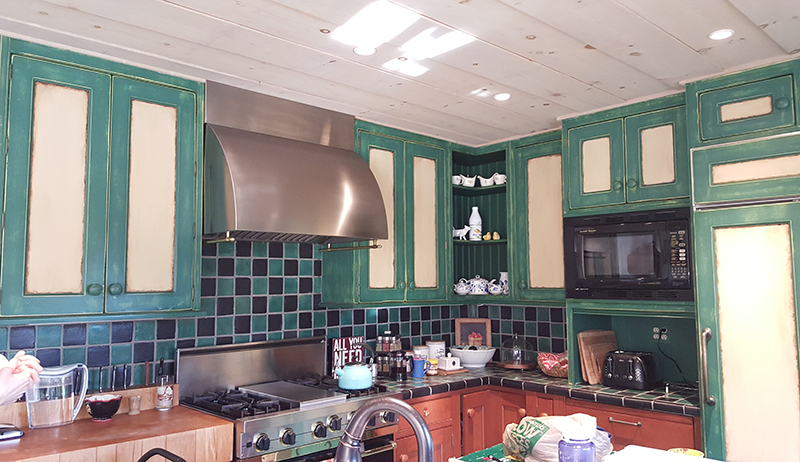
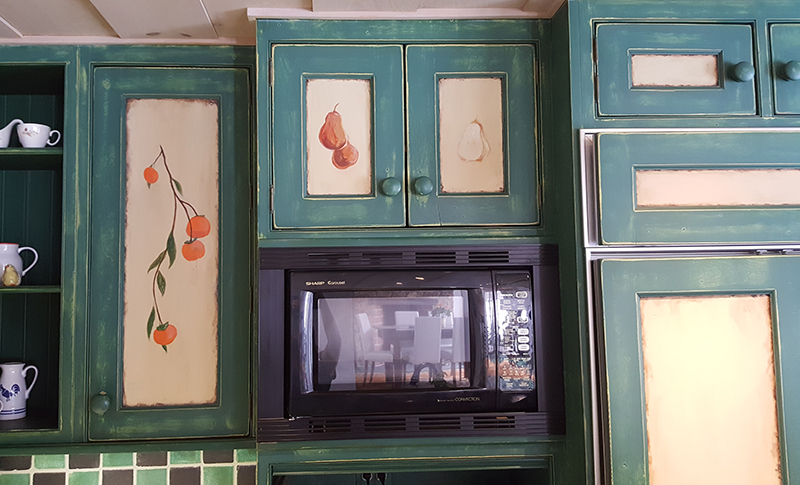
Here’s what the kitchen looked like after our first day painting fruit. (Left, Marissa’s apples. Right, Genevieve’s persimmons.)
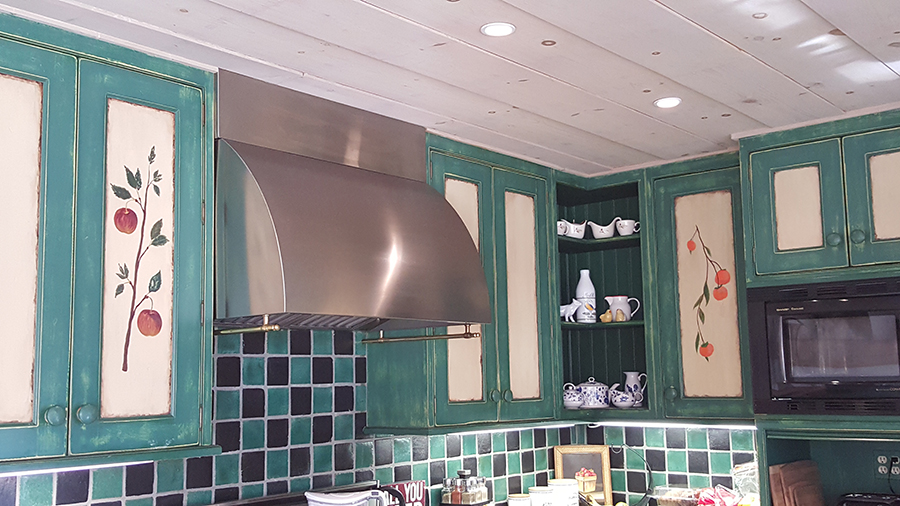
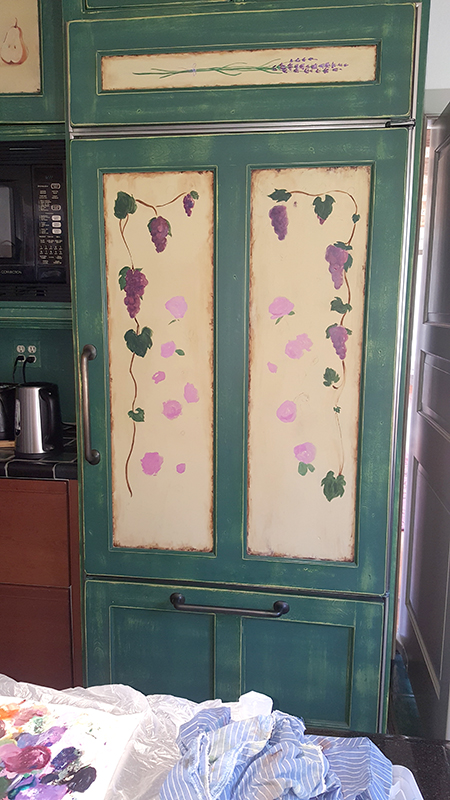
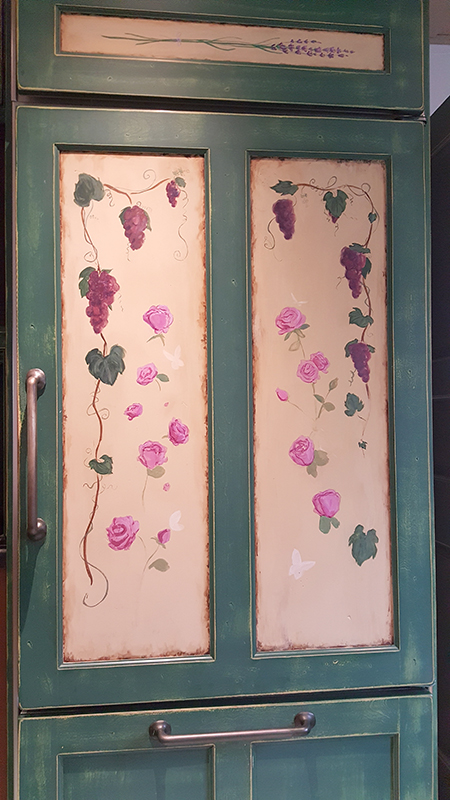

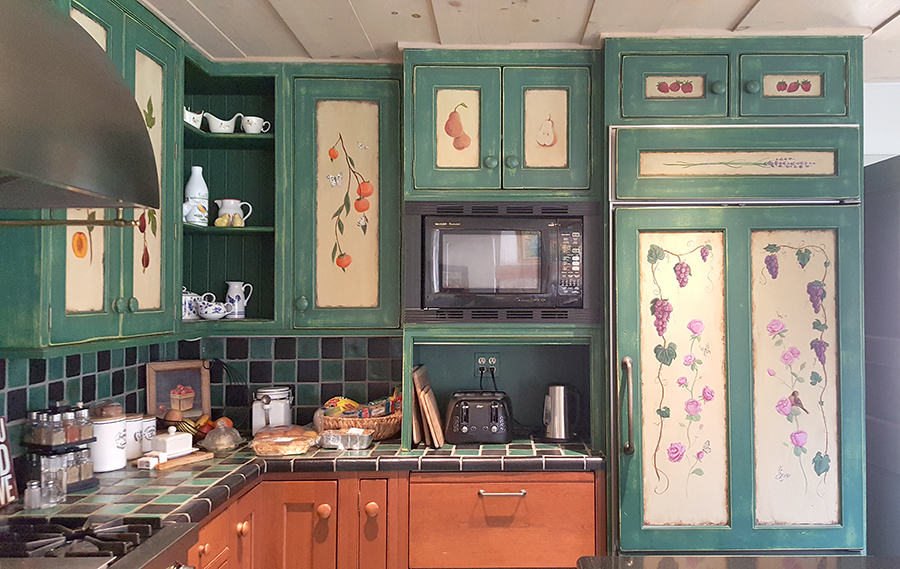
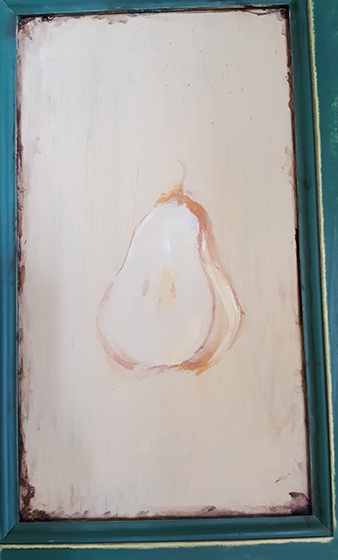
 Persimmons & pears, Genevieve; strawberries (top right), Marissa; lavender & fridge (grapes, roses), Genevieve.
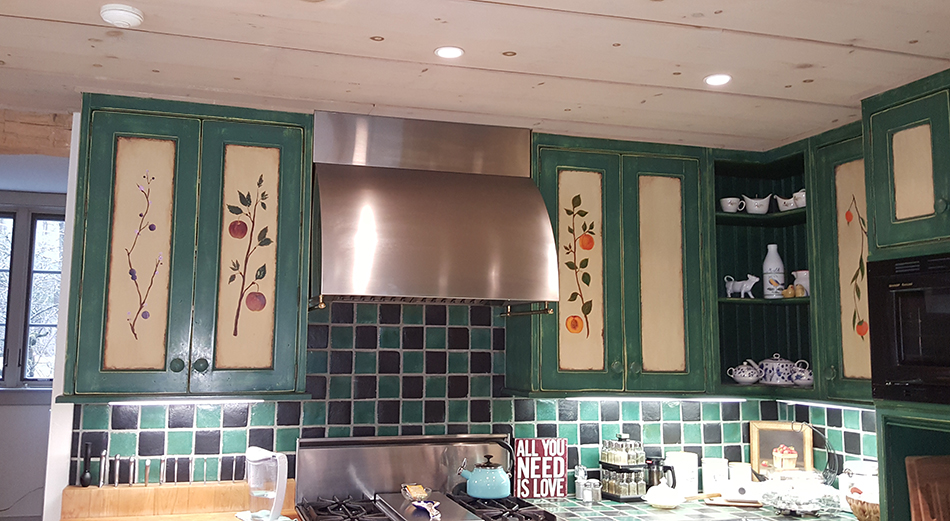

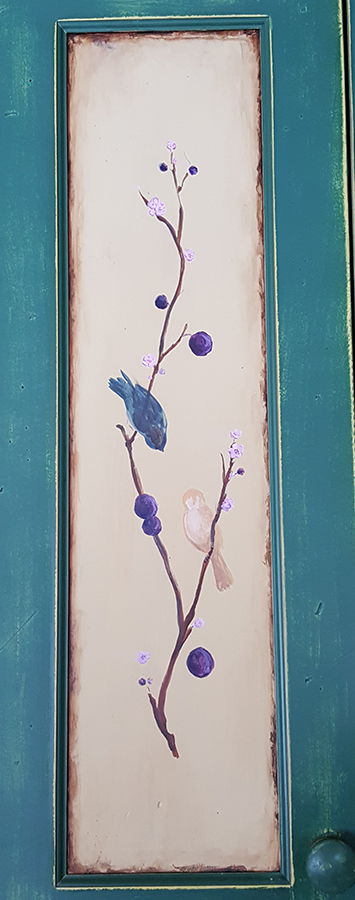
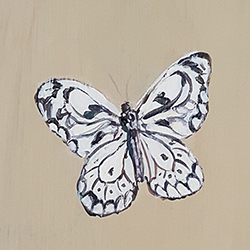
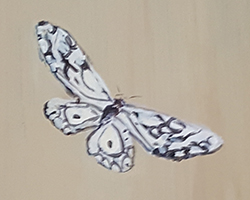
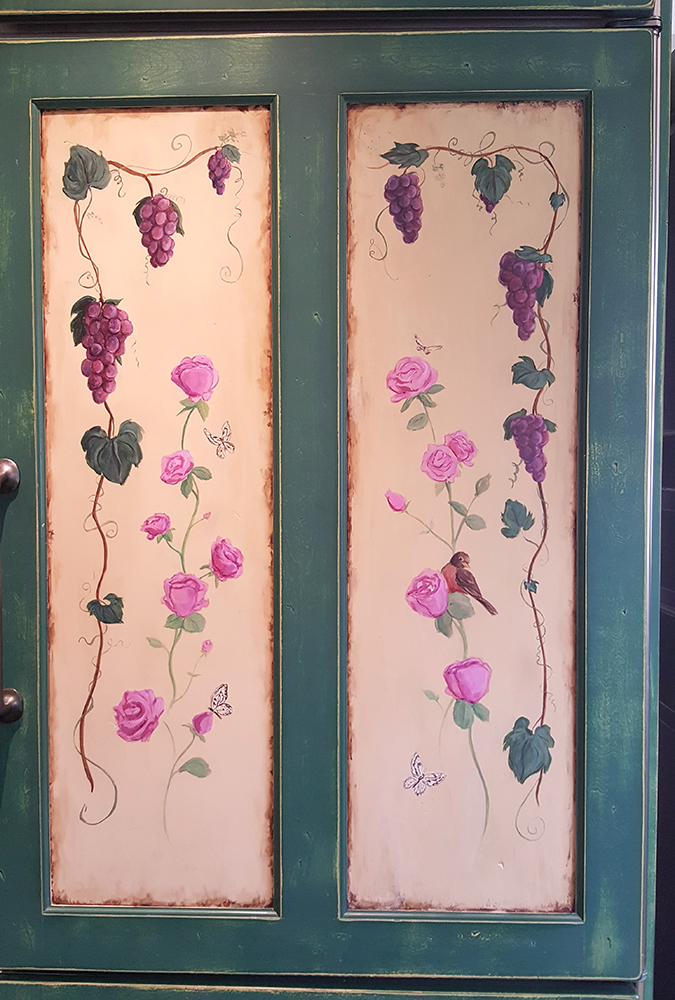
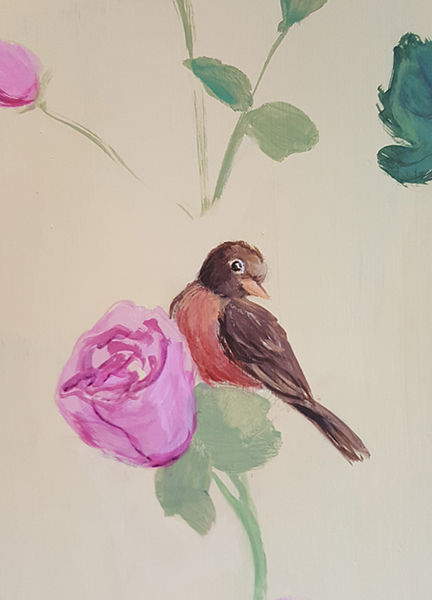
 The president’s wife specially requested that we paint some “surprises”–little animals and such, which I did. First two little birds among the plum branches.