Willow’s Turn

The last couple of posts have been dominated by dear doggy. If Willow, the resident kitty, knew this was happening, she would surely call for more attention. In the spirit of fairness, furriness, and fun, I have completed a portrait of her, too. It is titled “Self-examination” and is a two-for-one.

1.13 Self-examination

For fun, here are process photos:

Self-exam P2

Self-exam P1

And Miss Willow’s sign of approval. Happy kitty.

Self-exam P3

Welcome, 2016

We ended 2015 posts with a puppy; we’ll begin 2016 with the same puppy! Here’s another portrait of Coda, though admittedly the painting was finished last year. Coda’s a bit younger in this one than in the drawing–maybe 3-4 months old. Besides puppy, I was interesting in painting the floor. This piece is oil on canvas board and about 8″ x 10″. It also features the largest John Hancock I’ve ever affixed to a work of art.

As usual, click to enlarge.

Coda Blue web

Christmas Canine

I looked at the calendar and decided to squeeze one more post into the year, something short and sweet. Like Coda (the resident puppy)!

So here’s a drawing of Coda (from a photograph) I gave my mother for Christmas. It was done in charcoal and colored pencil. I drew on the rough side of pastel paper to achieve the textured look. Click to enlarge.

CodaP15-web

Merry Christmas, and blessings for the new year.


Latest Nautical Painting

On some previous projects, I’ve sporadically posted images of various stages of the process. For my latest commission, a sailboat painting, I decided to take photos after most painting sessions. Enjoy these snapshots. (The lighting changes, in turn changing the photo colors, but I assure you, it is the same artwork.)

The boat is named Tommy Dundee and is painted in oils on canvas.

TD-01

Underpainting + sky base color

TD-02

Basic cloud shapes + water base colors

TD-03

More developed sky (clouds) and water

TD-05

Boat base colors (local/actual color) and shapes

 TD-06

Boat details (placement) indicated (rigging, equipment, etc.)

TD-07Boat details developed and refined

TD-08Water details (colors, reflections, etc.) developed

TD-09Final touch-ups and completion!

Frame Restoration

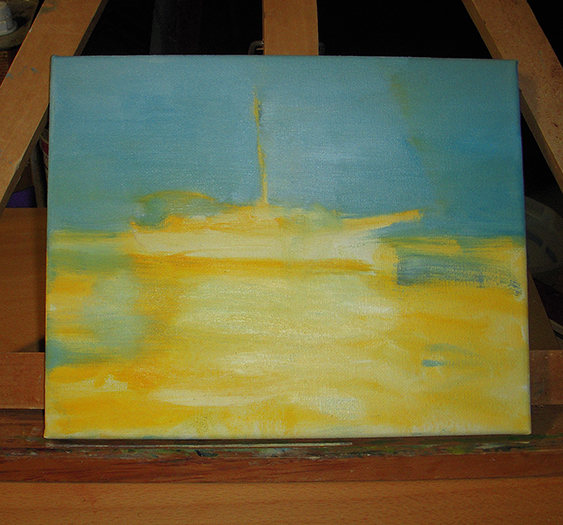
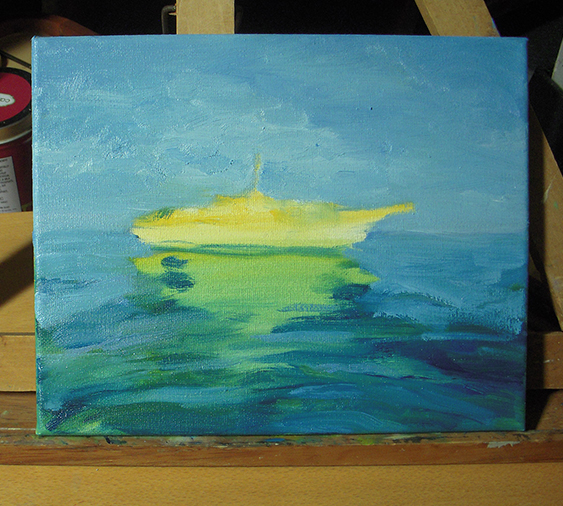
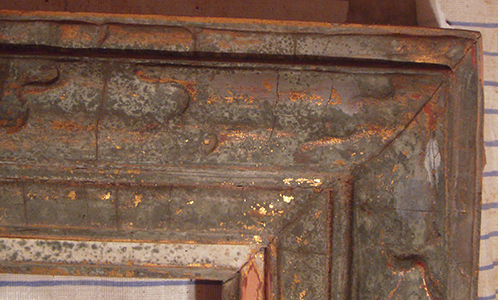
A little over a week ago, I was visiting my great-uncle (the one who designed the Moran tugboats I painted), and he more or less bequeathed to me several large, old wooden frames, if I thought I could use them. Wooden frames covered in blue-green mildew.

FrameRes1

What would you think?

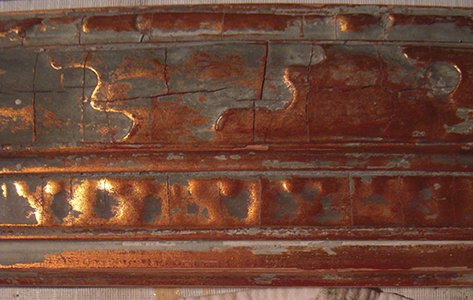
I thought, “Yes!” Frames are expensive, and with a lot of care and clean-up these could look very nice again. And I can do that work. It’s a lot of work, but very doable. I started with the biggest, most textured frame, and it’s cleaning up slowly but nicely. You can see the original shiny finish.

FrameRes2

So if you find yourself with old, mildewed frames to clean, rather than chuck them, here are some restoration tips:

1. Sand, man. Get a good rough grit (60 or 80). If your frame is flat, you can use a hand-sander. If it’s grooved, rounded, or textured, you’ll have to sand by hand. (It’s helpful to set the frame up on horses.) Once you get the brunt off, you can switch to a finer grade for smoothing (120 or higher).

2. Ay, there’s the rub. Get an old rag, dab it with rubbing (isopropyl) alcohol and wipe the mold off. More vigorous rubbing is required the more mold there is. You can also pour the alcohol right on the frame and let it soak thirty seconds. Use cotton swabs or Q-tips for small and detailed areas.

3. Bleach. Some people mix water, bleach, and dish detergents and rub, but you have to be careful of proportions so you don’t change the color of the frame. Others dunk the frames in a bucket of the solution, but my frames are too big for that. I have not tested this method, so I don’t know how well it works.

4. Sand some more!

5. Plaster. If there are lots of cracks (especially found on older, ornate frames) and you don’t want the frame to have too much character, you can spread plaster or putty to fill the cracks. Then smooth everything by sanding and, once the plaster dries, proceed to tip 6.

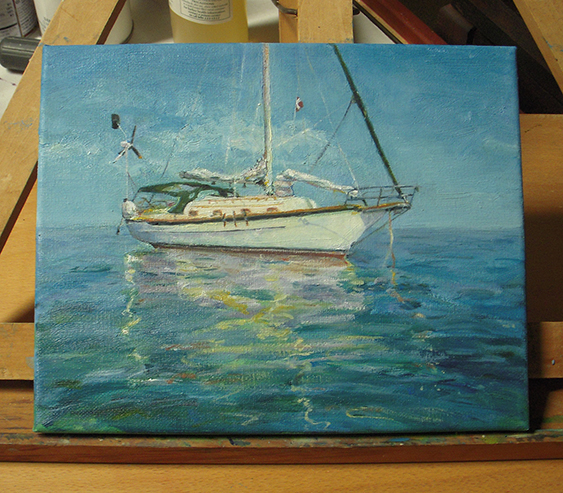
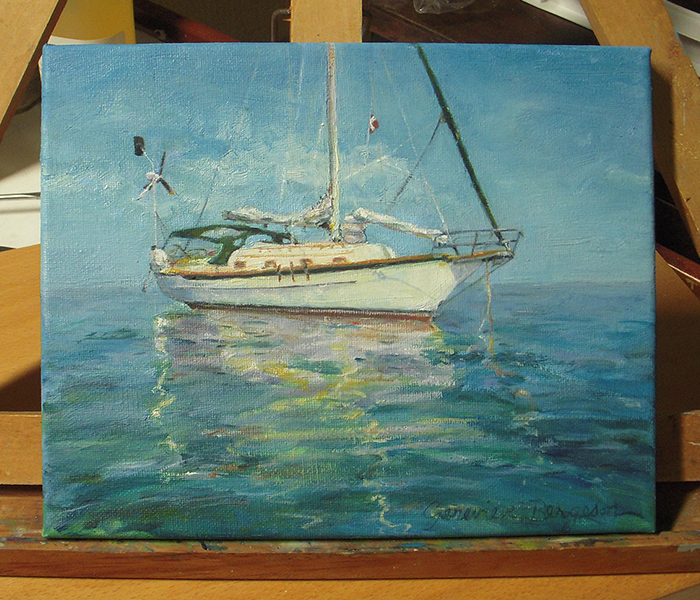
6. Paint it. Once you’ve thoroughly cleaned the frame, repaint it. Metallic paints provide a classic finish. When done, make sure you put a picture in it!