Summer 2023 Update

Back in March, I mentioned 3 projects, one short-term (covered in that post), one medium-term, and one long-term project. Here’s the update on the medium-term one, a new book. I wrote (and edited recursively) a poem to accompany the existing art and made a few adjustments to some of the illustrations–all of which always takes more time than imagined. Finally, after a pause and reviewing with a fresh perspective, I am in the process of finding a company to have it printed. There will be a grand unveiling post when it is ready.

I am also sporadically working to finalize a Pandagram design for Pangrams, a panda playing tangrams. When that is settled, I will only be two captions away from producing a new, international-themed Pandagrams card pack. (Japanda and Pangrams are the two still in need of satisfying sayings.)

That’s all, folks. Happy August.

Art Zoo

Once Handmade Hopewell (HH) finished, I could spend more time working on art again instead of working on presenting art. Here are recent animal paintings.

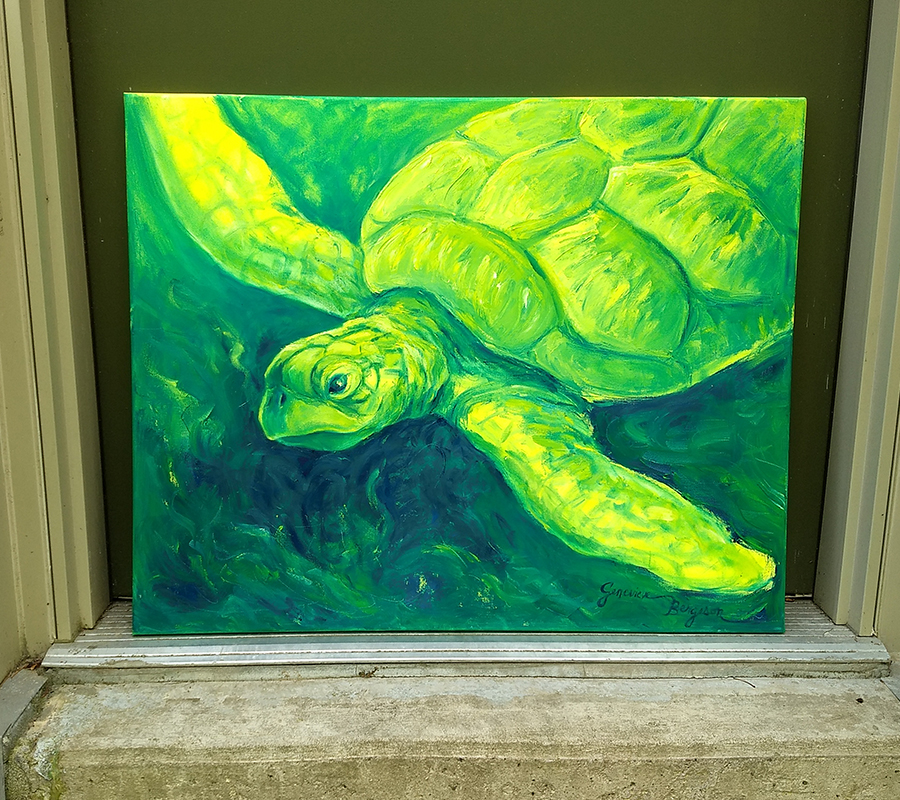
This sea turtle was “finished” a few weeks ago, after HH. To give a sense of scale, it is leaning against a door.

At the start, there were some energetic, sketchy elements I quite liked, eg., around the flippers, but most of those areas ended up getting more refined or painted over. Looking at it now, I wish I had preserved more of them. Even so, the painting satisfied my need to do something artistic besides re-painting tulips and working on my video for HH, and I am generally content with it.

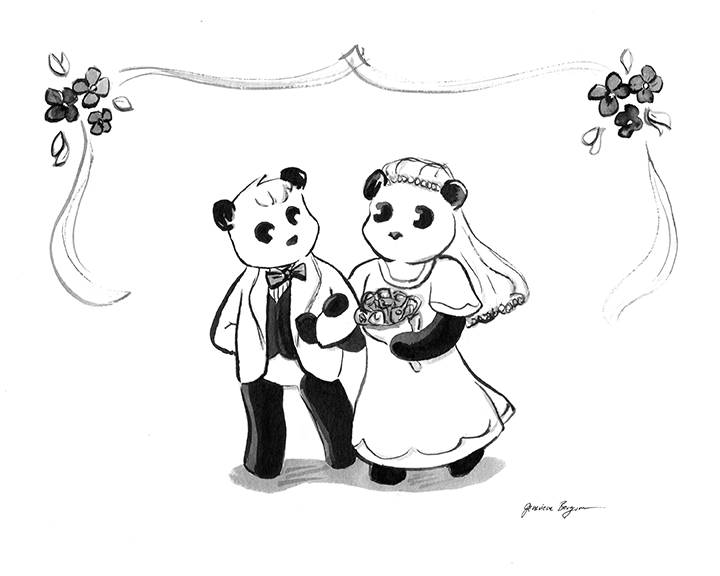
The Wednesday after HH, I got a call from neighbors who asked whether I were willing & able to come up with something artistic & humorous that night to mail Thursday morning to a couple getting married that Friday or Saturday. Although these wedding pandas are not punny of themselves, my neighbors were encouraged to send the happy couple a note congratulating them on going forward with their wedding during the panda-demic.

There are also some bird paintings, but I will save them for another time.

I hope you enjoyed today’s trip to the zoo.

Aeronautical Pandas

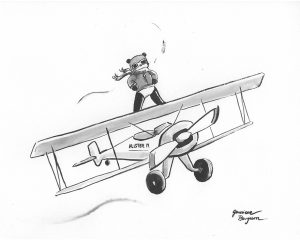
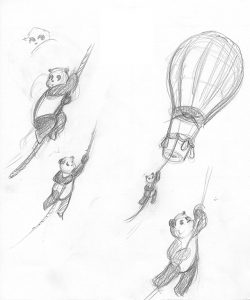
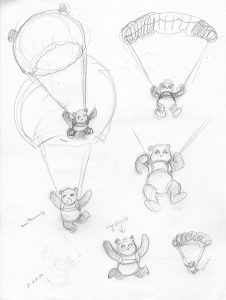
As promised in the previous post, here are the latest Pandagrams I was commissioned to paint. You will see that they have an aeronautical theme. (Click to enlarge.)

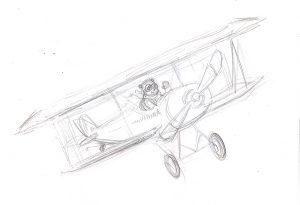
For the above painting, I used the Supercub I drew 2 years ago for a colleague’s relative as the model for the airplane. 

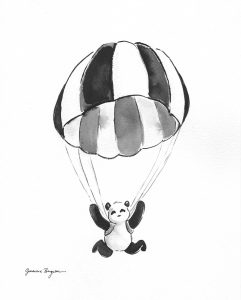
“Geronimo!”

Just in case anyone is seeking a little clarity, the pandas appearing as card sets, Pindas, etc., are part of the official Pandagram series. Any commissioned original designs in the same style are not part of the series proper; thus they will not be made into cards & such.

For fun, I’ve included some exploratory sketches. You can see some ideas that took flight and others that were grounded, so to speak. 

Ladies and gentlemen, we have now arrived at the end of the post, where the local time is now. Please take all your valuables with you. Thank you for choosing Pandagram Airlines. We hope you’ll fly with us again soon. 


P.S. I’m testing out another client for sending notifications about new posts. Please pardon any duplicate messages while I learn the ropes.   

New Pandas

In the past couple months, new Pandagram characters have been spotted intermittently around central Jersey and eastern Pennsylvania (at conventions). Now it’s time for their website debut!

But first an update on conventions. Two weekends ago, I tabled at Thy Geekdom Con — gaming, anime, comics, and more in Oaks, PA, on the other side of Valley Forge. Business-wise there isn’t much of interest to report; it was very slow and expensive (tolls as well as table fee), and it took significantly longer to drive to the expo center and back than mapping programs predicted. For those reasons I don’t expect to do a con in that area again. I’ll stick to visiting Valley Forge once in a while. (By the way, there is a carillon tower there! I met the carillonneur, Doug, this summer while I hosted Princeton University’s carillon summer series.)

This Friday through Sunday I’ll table at PhilCon, the world’s first and longest-running conference on science fiction & fantasy and hosted by the Philadelphia Science Fiction Society. This one should actually take an hour to get there as predicted. I will be grateful if it does–and very grateful if business is better. Now, onto the pandas!

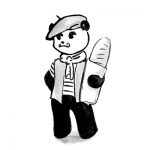
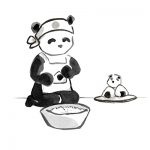
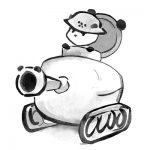
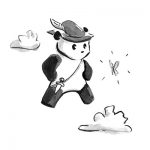
They will be in the internationally themed third set of Pandagram cards. First, we have Monsieur Panda avec le pain (“with bread” in French). Second is Japanda, who is making onigiri (Japanese rice balls). Then there is Pandzer (Germany) and Peter Panda (England).


The fifth Pandagram in the set will represent China: Pangrams. The panda will be completing a tangram puzzle. Pandagrams’ reputation as black and white and fun/pun all over shall surely be upheld.

How to Make a Pin(da)

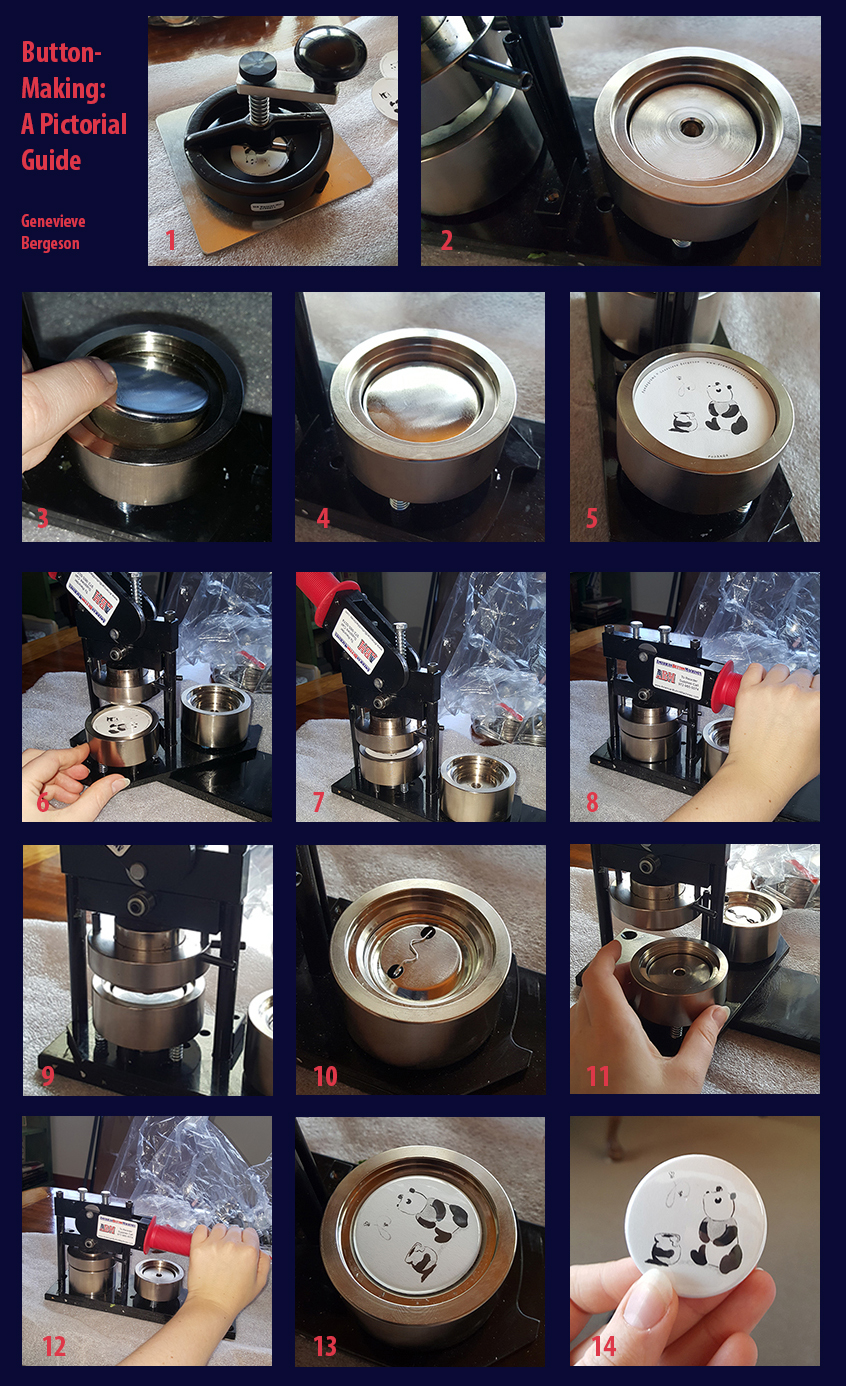
This post is very straightforward: how to make a pinback button, in this case, a Pinda. 

Tools & supplies

Front row (L to  R): Button press, rotary cutter on steel cutting board, art designs

Back row: Bags of pin shells, clear mylar (tiny bag), pin backs, completed pins


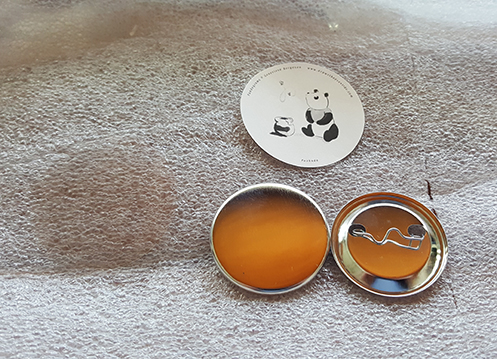
The smaller photo is a close-up of the 4 pieces of a pin: mylar (the circle that’s darker than the rest of the background foam), art, pin shell, & pin back.

Ready to make a button? Here are the steps with a visual guide. 

  1. Cut artwork in a circle. (You can use a dial cutter or scissors.) The circle needs to be a bit bigger than the final diameter of the button because it will curve around the edges of the shell. (I had some pandas already cut into circles, so I skipped this step when I took the demo photos.)
  2. Swivel base of button machine so shallow die (“pot” or “dish”) is accessible.
  3. Put pin shell face in shallow die.
  4. (Ditto)
  5. Put artwork on shell, then clear mylar.
  6. Rotate base of machine so shallow die is under press.
  7. (Ditto)
  8. Grasp handle & press down. This will press the shell, picture, & mylar together.
  9. When you release your, it pick ups the pressed pin front.
  10. Place pin back in deep die. Make sure squiggly side is up so that when the pin is pressed together, the straight latch of the pin is on the back of the pin. The squiggle will be inside the pin. (You can’t undo a pin press if you put the wrong side up.)
  11. Rotate base of machine so deep die is under press.
  12. Grasp handle & press down. This presses the pin front & back together.
  13. Release. This drops the new pin into the die. Rotate base again so you can take out the pin. 
  14. Ta-da-!